How to set up Audit Log and browse log records.
Overview
Audit Log is a part of the Atomia system that logs important events in all Atomia control panels and APIs. It is based on Atomia Action Trail and uses the same Message Queue Distributor service to collect and dispatch audit log messages. Audit log messages contain data about created and modified objects (services, subscriptions, invoices…), username of the user who made the change, IP address, application used to make the change, and more. Errors and exceptions are not logged.
Audit Log is installed together with Action Trail. The only additional setup is to enable/disable audit logging per application and per action. Each Atomia application has a setting in the configuration file that turns audit logging on or off. It is also possible to separately configure more than 80 different actions to be logged or not.
Configure Audit Log per application
Audit logging is enabled by default in all applications. Audit logging can be disabled by simply changing a value in the AuditLogPowerSwitch settings in the configuration file. Value true means that the logging is active.
Different applications have the following setting in different files:
Admin Panel: Web.config
Billing Customer Panel: App_data/app.config
Hosting Control Panel: App_data/app.config
Order Page: Web.config
Atomia Store: Web.config
Configuring logging of specific actions
- Go to Admin Panel > System > Audit log to display audit log records.
- Press Configure Audit Actions button to go to the page where all actions can be separately enabled/disabled.
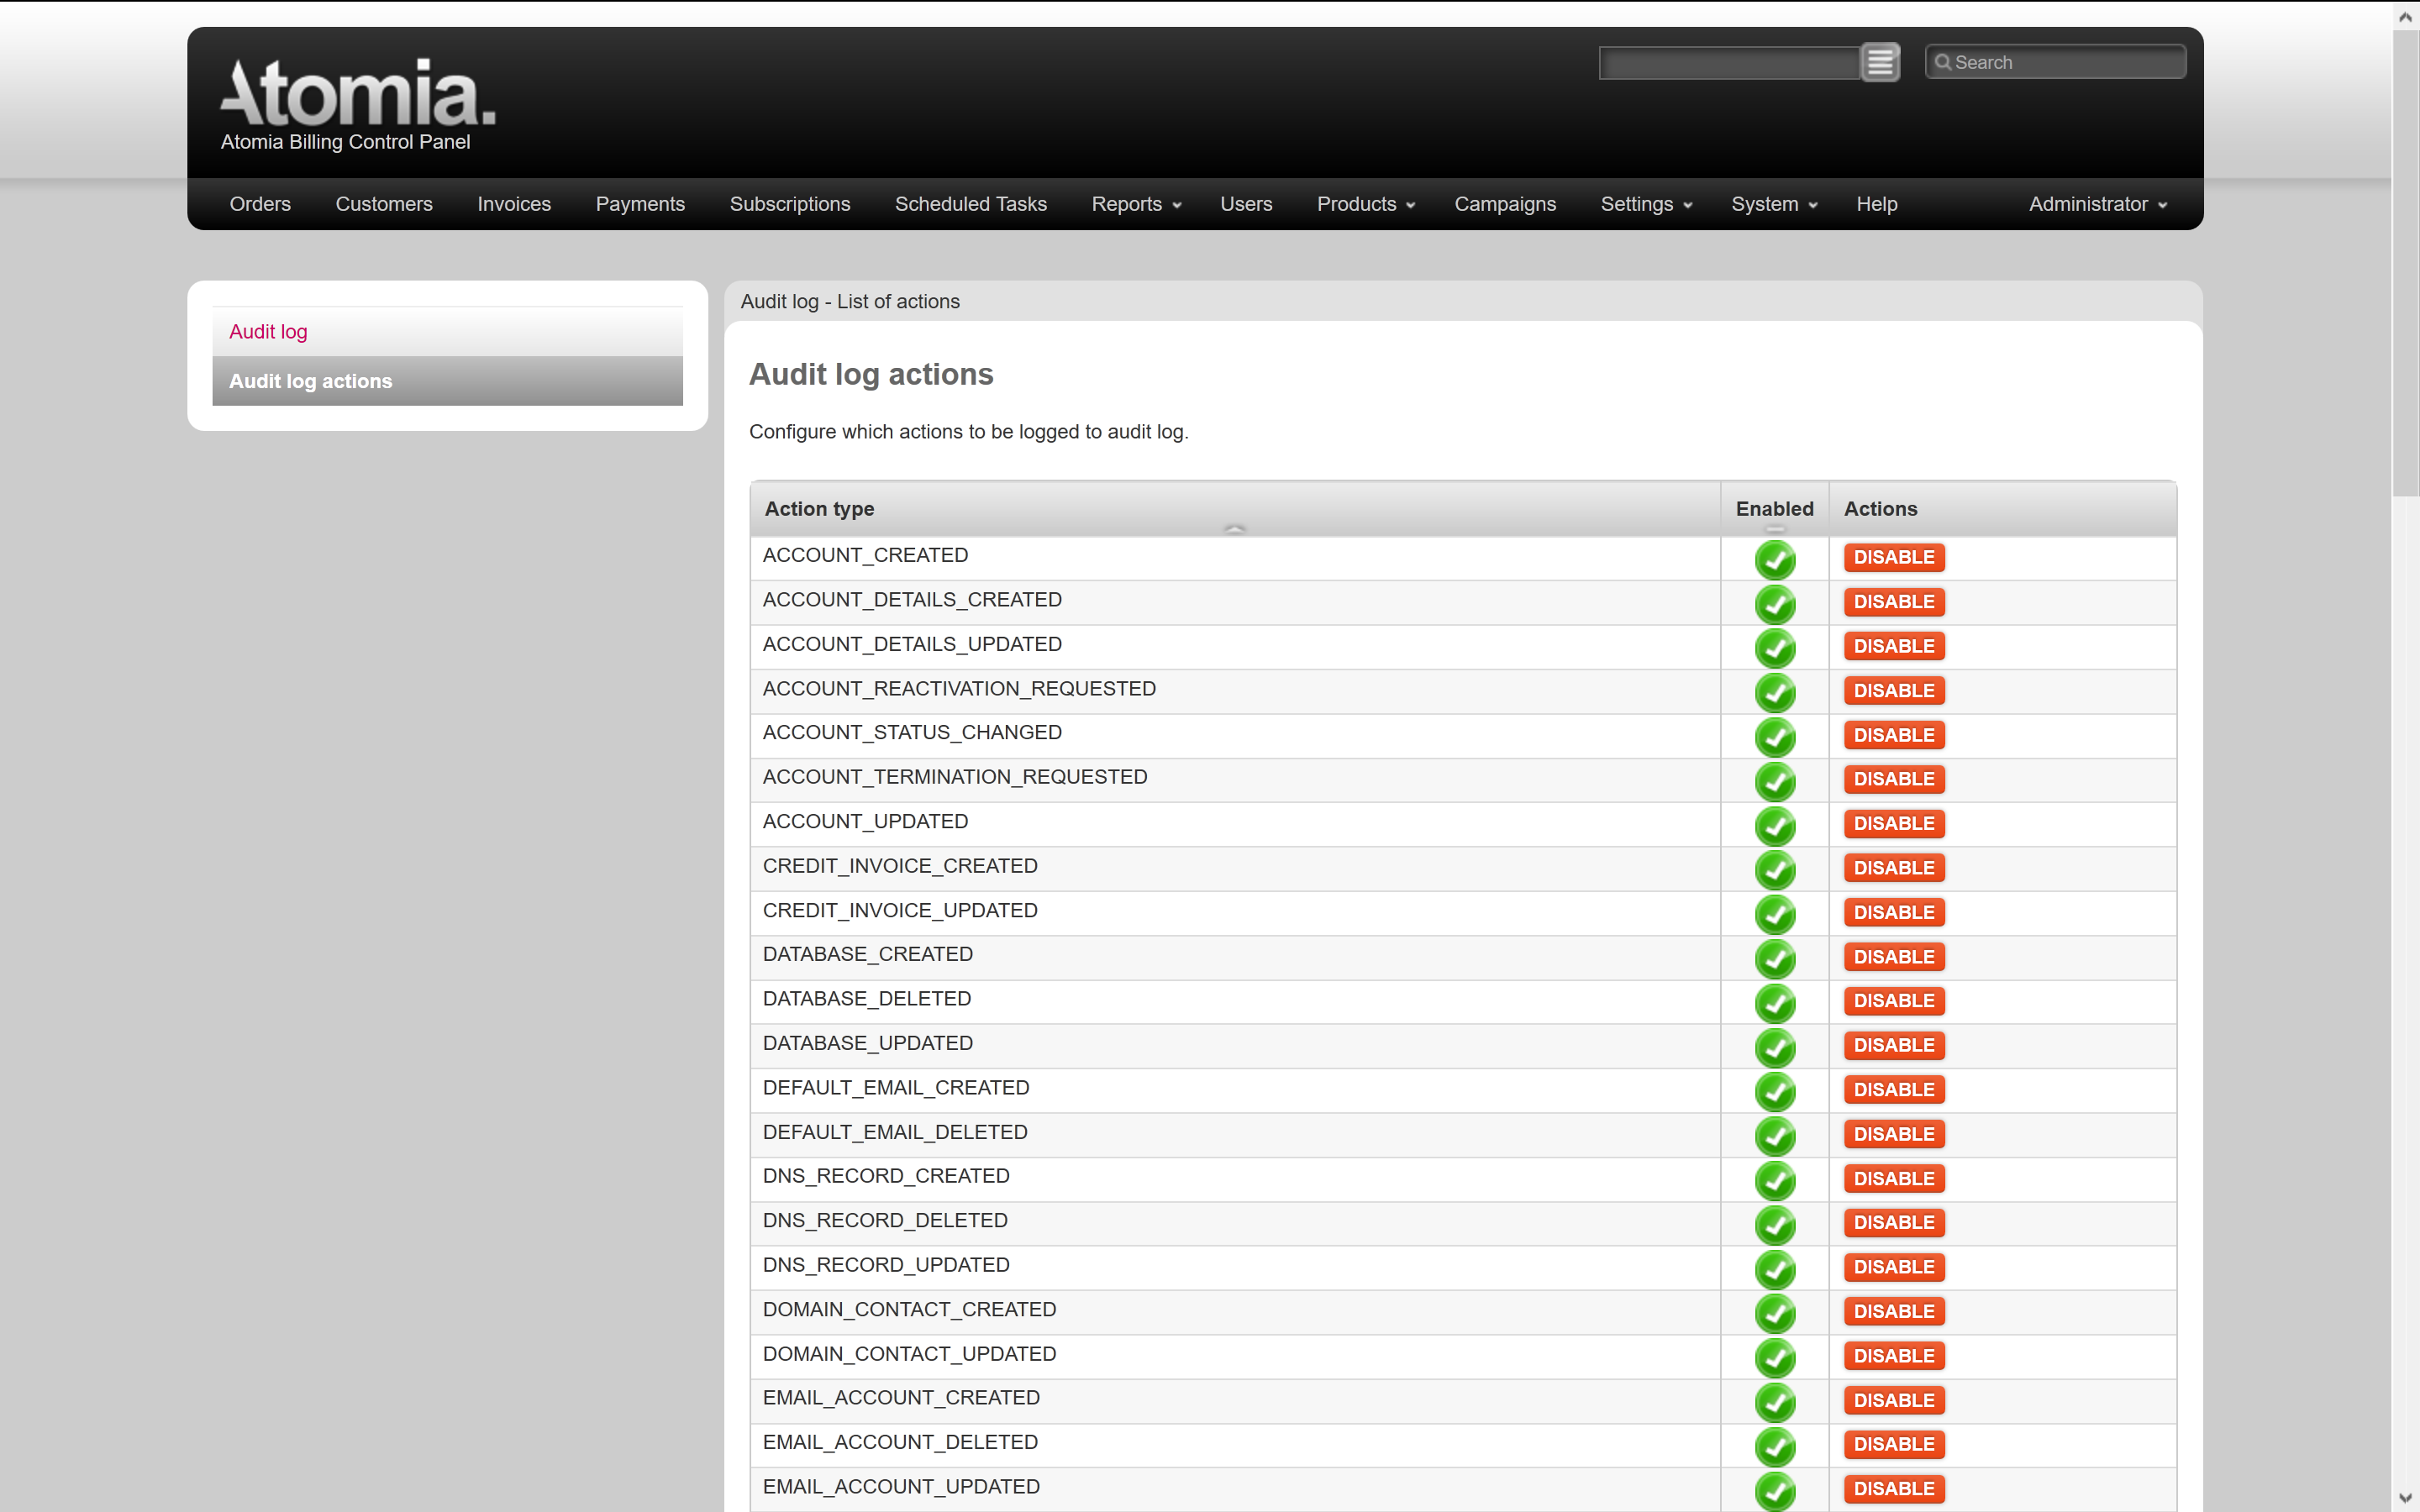
Image 1: Audit log actions.
Browsing and filtering audit log records
To filter audit records, use the filter section above the table that lists the records. This section contains the following fields, and their values are used in conjunction:
- Timestamp – filter records by date or by period,
- Who – filter records by username or IP address,
- Account – filter records by account ID,
- Action type – filter records by action type,
- Search – filter records whose message or additional data contain given string.
Combine these fields to create a complex filter.
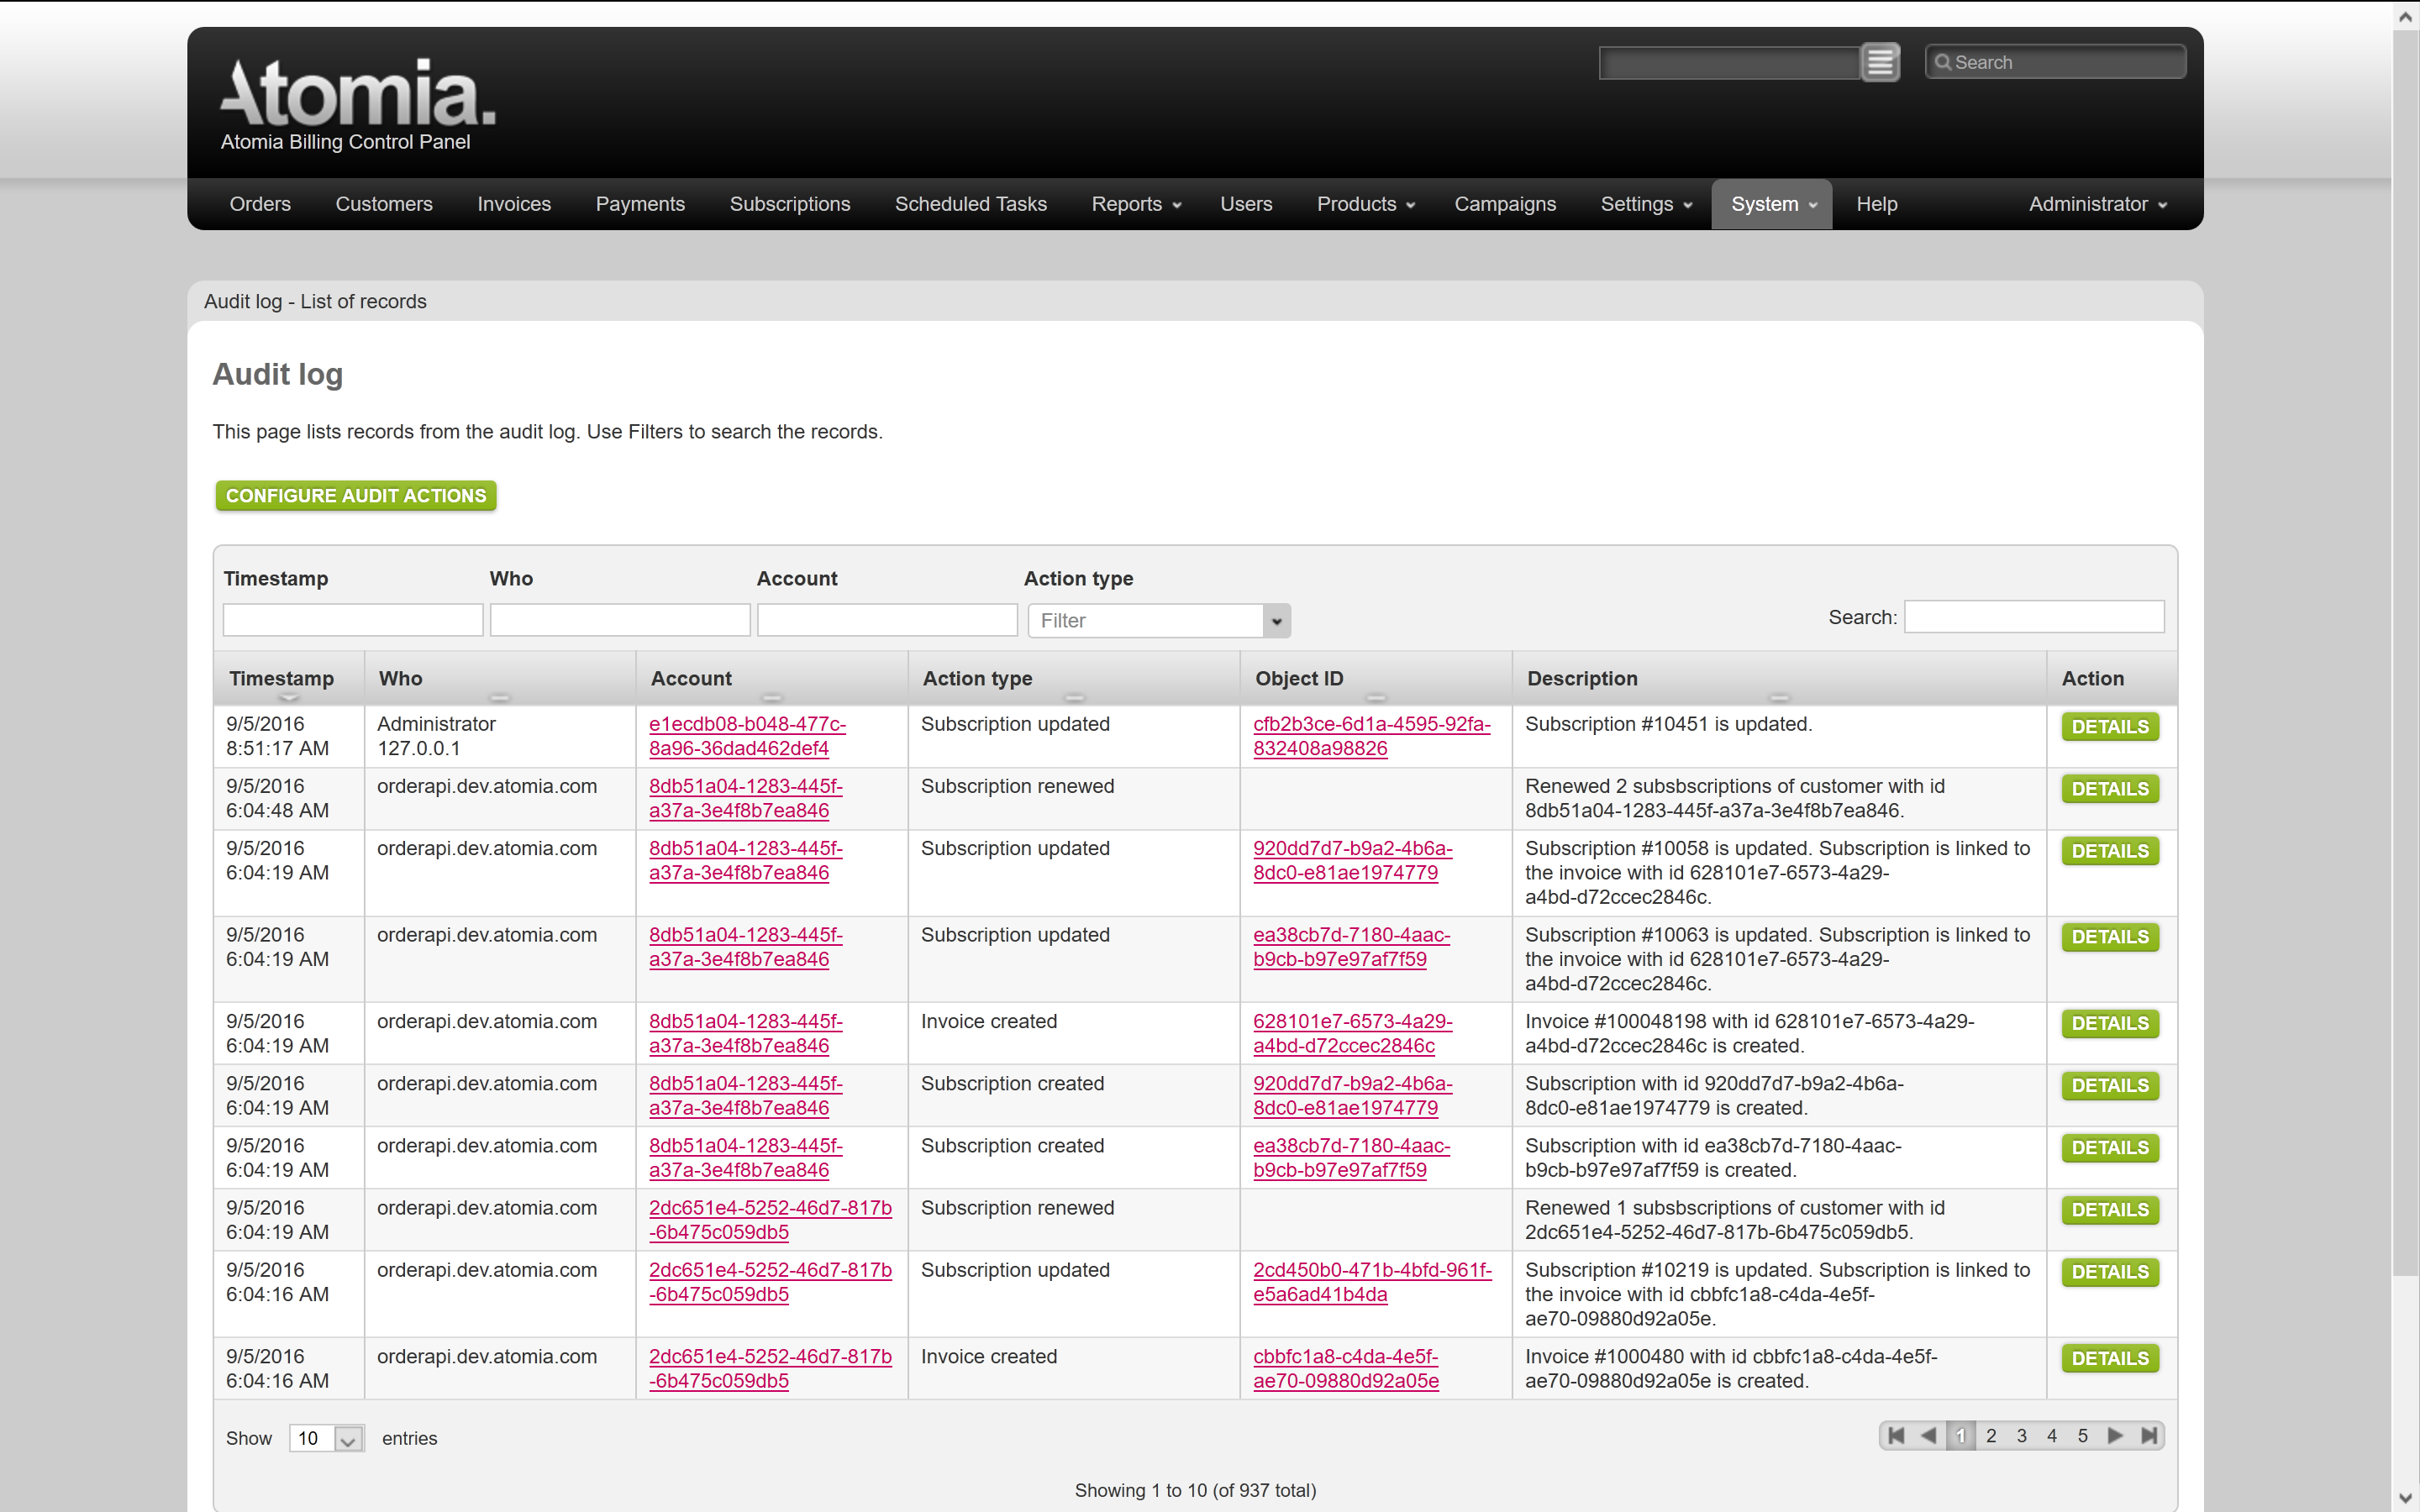
Image 2: Filtering audit logs.
Action type filter allows you to narrow down your search by selecting only actions of interest.
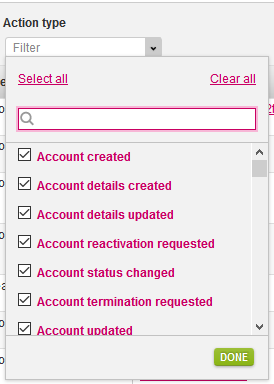
Image 3: Select all and Clear all options.
Tick the Select all and Clear all checkbox, or uncheck all actions at once. The text box performs an interactive search and displays any actions that contain the given string.
For example, to display only records related to subscription upgrade, click Clear all and start typing the word “subscription”, or “upgrade”. Tick the checkbox next to the desired action type, and log records will be displayed. Click Select all to display all audit log records.
Audit log in Customer Card
Customer card now contains Audit Log tab which list the records related to the customer’s account.