How to set up the system to allow users to reactivate their domains from set redemption period.
Overview
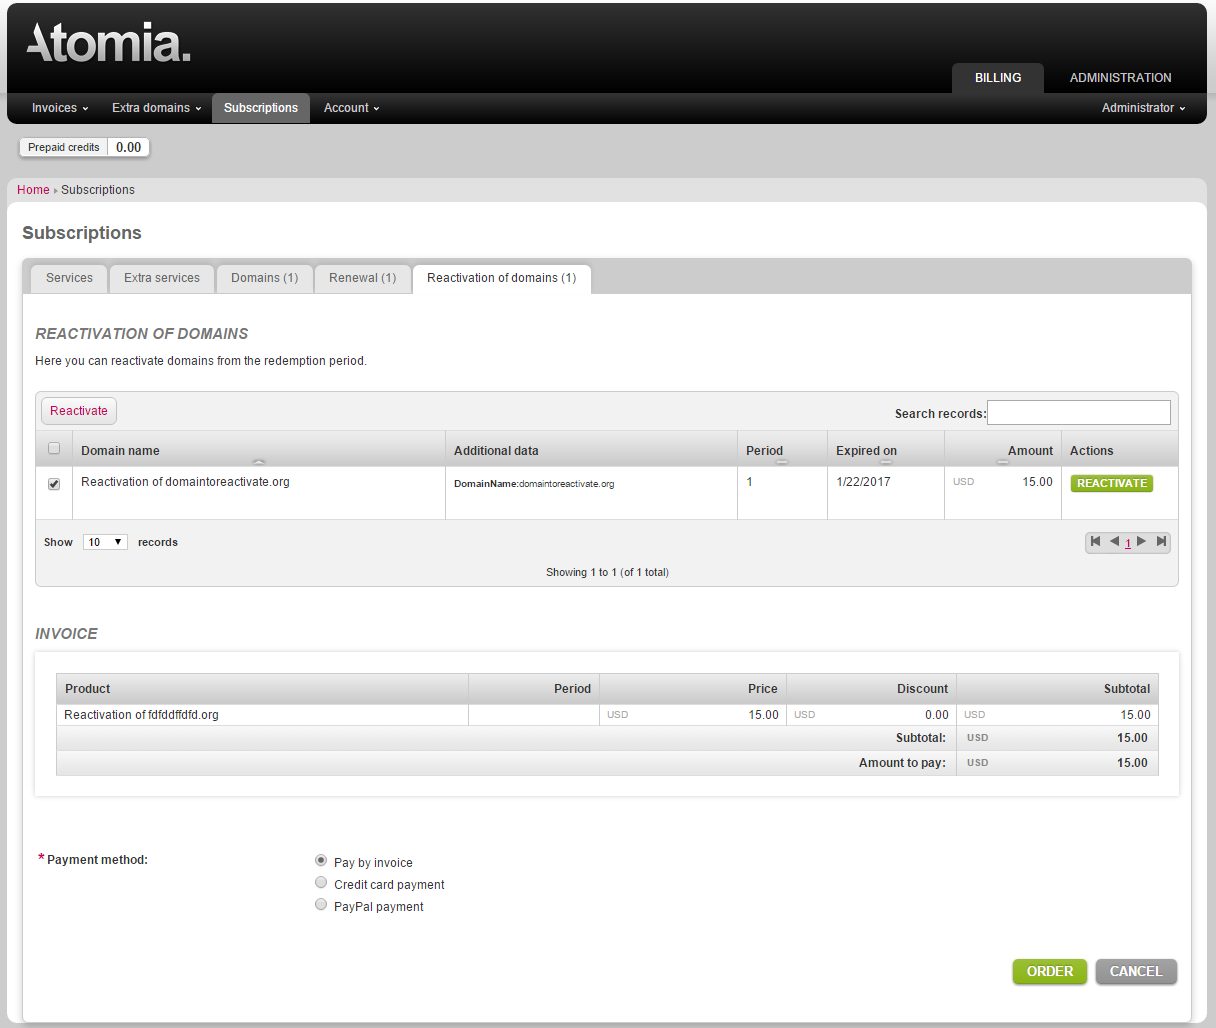
With this setup, a customer is able to order the domain reactivation in the Subscriptions > Reactivation of domains tab in the User Panel. If the customer’s domain is in redemption period and a product is set up for reactivation of that domain, the domain is shown in the Reactivation of domains list.

Image 1: Ordering domain reactivation in the Reactivation of domains list.
During provisioning of the reactivation domain product, when the order is processed, the customer domain subscription and provisioning service are restored to normal state. A command to reactivate domain from the set redemption period is sent to registrar/registry.
Before you begin
The Domainreg plug-in as well as the registrar/registry that is being used has to support reactivation of domains from redemption period.
Setting up domain reactivation
- Set up one or more products. See detailed description below.
- Configure the product to be available in the User Panel, by configuring if shops are used or not. See detailed description below.
- Configure the Billing Customer Panel to show domain reactivation tab. See detailed description below.
Setting up one or more products
- Go to Admin panel > Products > Products > Add new product.
- Set the following data for the domain redemption product:
- Provisioning service: DomainRedemptionRestore.
- Product category: Domain redemption restore.
- Type of Billing: Fixed price and Nonrecurring.
- You also need to add the following to Other data:
- Name: ApplicableToArticleNumbers.
- Value: List of domain item article numbers for which domain reactivation product can be purchased, separated by | character. Example: DMN-COM|DMN-NET|DMN-ORG.
- Fill out the rest of the set up properties as per your request.
Configuring use of shops
- Go to Admin panel > Products > Shops.
- In the Actions menu, below the used shop, select Edit.
- Select Add new product and select newly created domain reactivation product from the drop down list.
- Select RestoreTLD for Category.

Image 2: Setting up shop to use domain reactivation product.
Configuring if shops are not used
- Add domain reactivation product to Atomia.Web.Plugin.HostingProducts.dll.config in the bin folder of the Billing Customer Panel. The usual path is: C:\Program Files (x86)\Atomia\BillingCustomerPanel\bin\Atomia.Web.Plugin.HostingProducts.dll.config.
- Configure the domain reactivation product in configuration / hostingProductsConfigurationSection / productsList. See the following example entry.
<product id="someid1" articalNumber="DMR" productCategory="RestoreTLD" />
Configuring Billing Customer panel to show domain reactivation tab
- Go to User panel > Subscriptions > Reactivation of domains.
- The visibility of this tab can be turned on or off by changing the
SubscriptionsShowReactivationDomainsTabglobally in the Billing Customer panel appConfig.config file. It is usually located in C:\Program Files (x86)\Atomia\BillingCustomerPanel\App_Data\appConfig.config.